I spend several hours each week on long-distance train journeys and often use the time to code, whether on a pet project or practising a kata or two. Large parts of this journey have patchy-at-best mobile data coverage, so tools with a reliance on a stable internet connection can cause problems. One of these tools is the NuGet Package Manager in Visual Studio.
In the most simple cases, where a solution just needs a reference to a single DLL, local copies are an adequate solution. However, that is not always sufficient as some of the libraries I want to use are vastly more complex with extended dependency chains. I was really beginning to miss NuGet while working offline, so I decided to set up my own offline local NuGet repository. It is a surprisingly simple operation, yet I had to do quite a bit of hunting around to find all the steps I needed to perform and failed to find a them all listed in a single article. So here goes…
The Steps
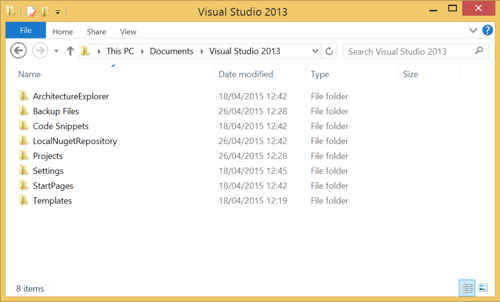
Firstly, you’ll need to create a local folder to house all your local NuGet packages. I created a folder called ‘LocalNugetRepository’ within the Documents\Visual Studio 2013 folder, but you can call it whatever you like and place it anywhere you have sufficient privileges:
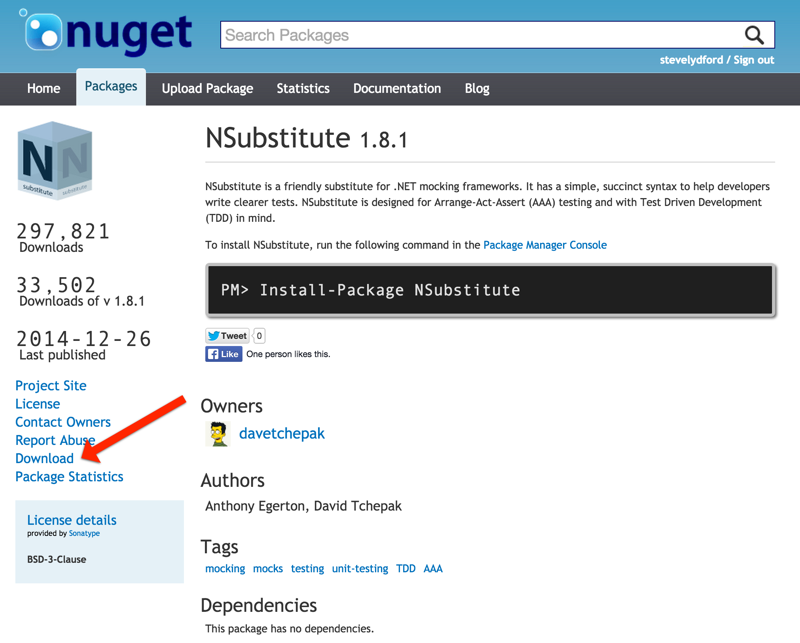
The next step is to download the NuGet packages you wish to be able to use offline into this folder. Packages can be downloaded from nuget.org. Importantly, you must be logged in to this site to be able to download packages, so go ahead and log in, or register for a new account if you don’t already have one.
Once you are logged in, search for the packages you require and click the ‘Download’ link in the left hand menu of each (highlighted below). This link will not be present in the menu if you are not logged in:
Once you have successfully downloaded the .nupkg files you require into your local repository folder, head into Visual Studio and open the NuGet Settings dialog via Tools > NuGet Package Manager > Package Manager Settings. Click the Package Sources tab within the settings dialog, followed by the ‘plus’ icon in the top left to add a new package source:
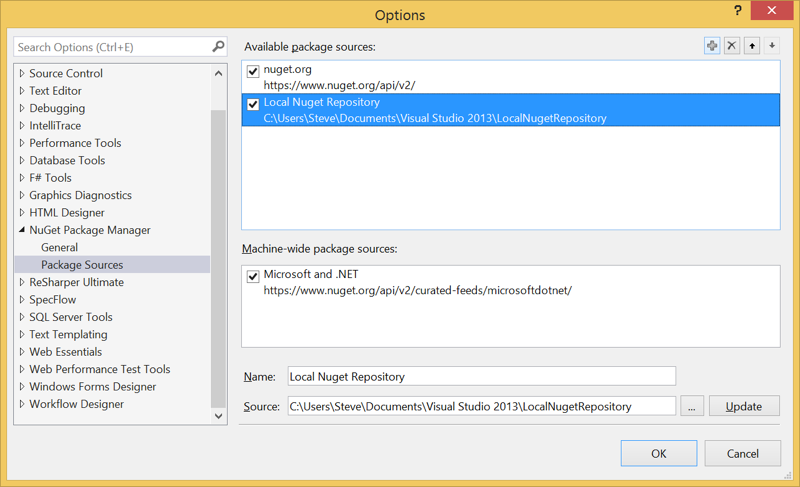
Enter the Name and Source of your local repository. The name can be any string and will be the name displayed in the NuGet Package Manager within Visual Studio.
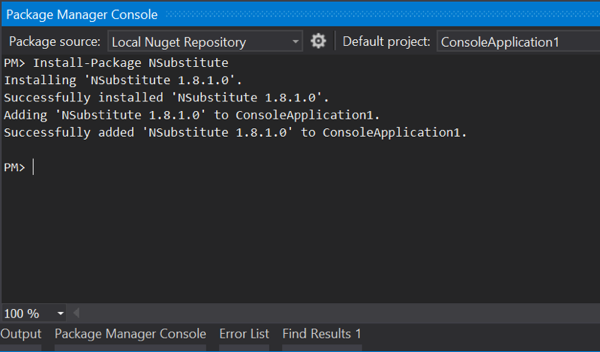
Now that you have added the local package source, you will be able to use your offline local repository from within Visual Studio in the usual way, either via the Console or via the Package Dialog, by selecting it from the Package Source menu, without the need for an active internet connection:
It is worth noting here that if you downloaded any pre-release packages from nuget.org into your local repository they will not be displayed by default within either the Package Manager Console or GUI dialog. This is by design, however it can be overridden in the Package Manager Console through the use of the -IncludePrerelease flag. For more information, see the official documentation.